We love a good celebration around these parts and so of course it is only natural that we celebrate the longest day of the year- Summer Solstice- AKA Midsummer's Eve- which happened some time last night around 10 pm. One celebrating the longest day of the year would also hope that it would be the nicest day of the year- but as we left Spring behind the weather was dark and dreary here in Vancouver- we thought we would celebrate all things bright with lanterns- hoping to encourage back the sunshine!

These lanterns are ever so pretty and ever so easy- the perfect qualities for a rainy day craft in my humble opinion! The supplies are fairly minimal and most people if they look hard enough will have these on hand.
Supplies needed:
Birthday balloons
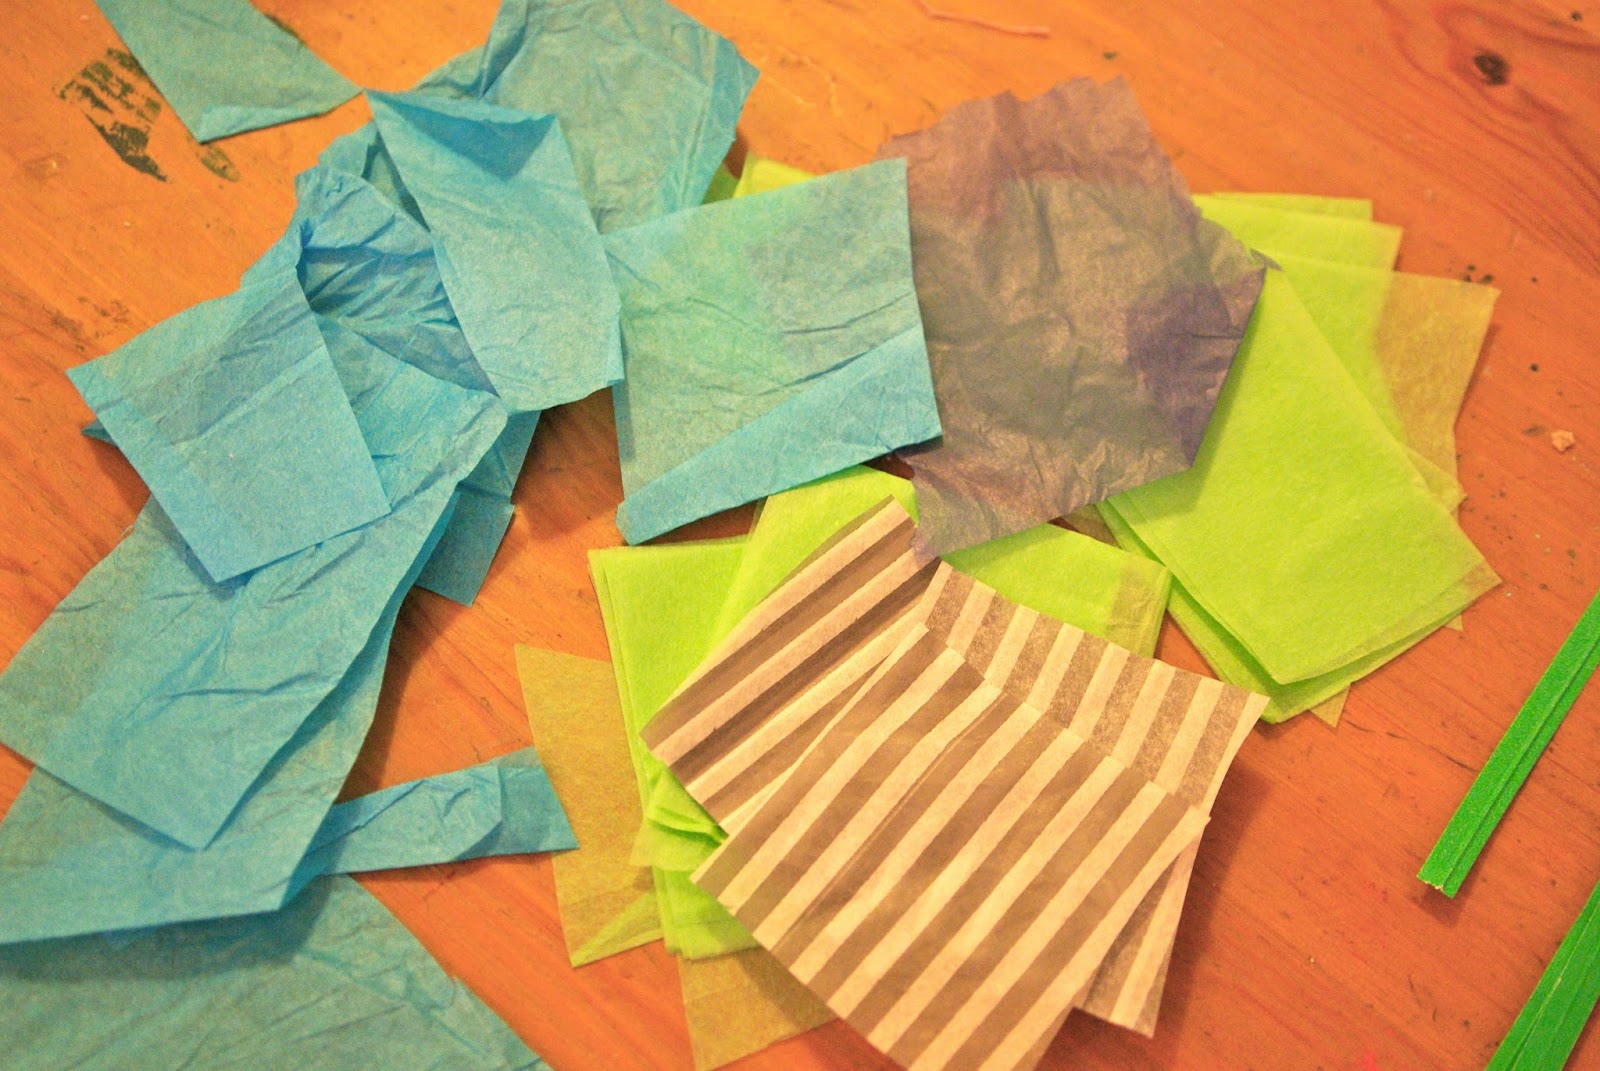
various cut up pieces of tissue
modge podge or acrylic medium
brushes (not the good ones)
string
dowelling
borax
candle

Blow up Birthday balloon and set inside a cup or tupperware container- this is just to act as as stand and give you two free hands to work with. Gently brush balloon with modge podge and randomly start attaching bits of paper- the idea is to build up a few layers for strength as well as colour!

Cover the balloon about half way up- Miss Lo went a little overboard and did the entire balloon- but really you are making a basket so only need to cover half the balloon. Keep building up layers by adding tissue and smoothing it down under layers of mod podge- remember the more layer the longer it will take to dry- this is key!

Once the tissue is fully dried- like after several hours- take a pin and pop the balloon inside- do not be alarmed if the entire project collapses in- all you have to do once the balloon is removed is gently push the tissue lantern back into shape. Trim the lip of the lantern and punch holes for the string to go through.
At this point I would like to offer up some safety guidelines- if you were to use a candle in the lantern as it is at this stage it would possibly catch on fire- not good. What you will want to do is mix a solution of borax and water together and paint two or three coats on the inside of the lantern bowl- thus making the lantern fire resistant- however this should never be left to burn un- attended. Children obviously should be with an adult at all times when around candles.

Tie the strings at desired lengths through the holes of the lanterns and then pin the ends of the strings onto the dowelling with a tack or small nail- the longer the handle (dowelling) the taller the lantern will stand. We planted ours in our flower pots to be lit when it finally gets dark this evening- these would look great in place of Tiki torches in a back yard!

Recipe for Homemade Mod Podge
1/2 cup white glue
1/2 cup water
-thin out with more water if you wish
- add glitter like we did here for sparkle!
- whisk in flour and use for papier mache
Friends it is Friday again- shocking how that just sneaks up on me every single week! Saturday I am looking forward to just chilling out and partaking in some much needed R & R- followed by my screen printing class on Sunday- which is gong to be crazy fun! I hope your weekend has some sunny breaks, laughter and fine boxed wine- weather you share with friends or not is up to you!


Love these and I think we will be making some this summer! Thanks!
ReplyDeleteFYI- as I just discovered- do not leave these out in damp/ wet weather! They do not fare too well:)
DeleteI love modge podge crafts but haven't tried it with the kids yet, but this sounds like a great way to start. Also thanks for the borax tip, I had no idea it could make things fire resistant.
ReplyDeleteSuper easy to make your own- if you want a less expensive version for the kiddos!
ReplyDelete