
With all this discussion of cozying up for the winter it is taking every fibre in my being not to start pulling out the Holiday decorations- and the Twinkle lights- it is so dark out these days! It's true I have a problem- I am really aware of the retail driven obsession to go big for Holidays and to start pushing them as soon as one is over- Christmas decorations have been in Costco since the end of August- and so I am resisting putting up Twinkle lights until after Halloween! Instead I turned to my giant pile of scrap fabric and decided to make a moody little fall banner- next week I can start dressing it up for Halloween and after that I can bring out my Winter decorations- then Solstice and Christmas- yes we celebrate it all!
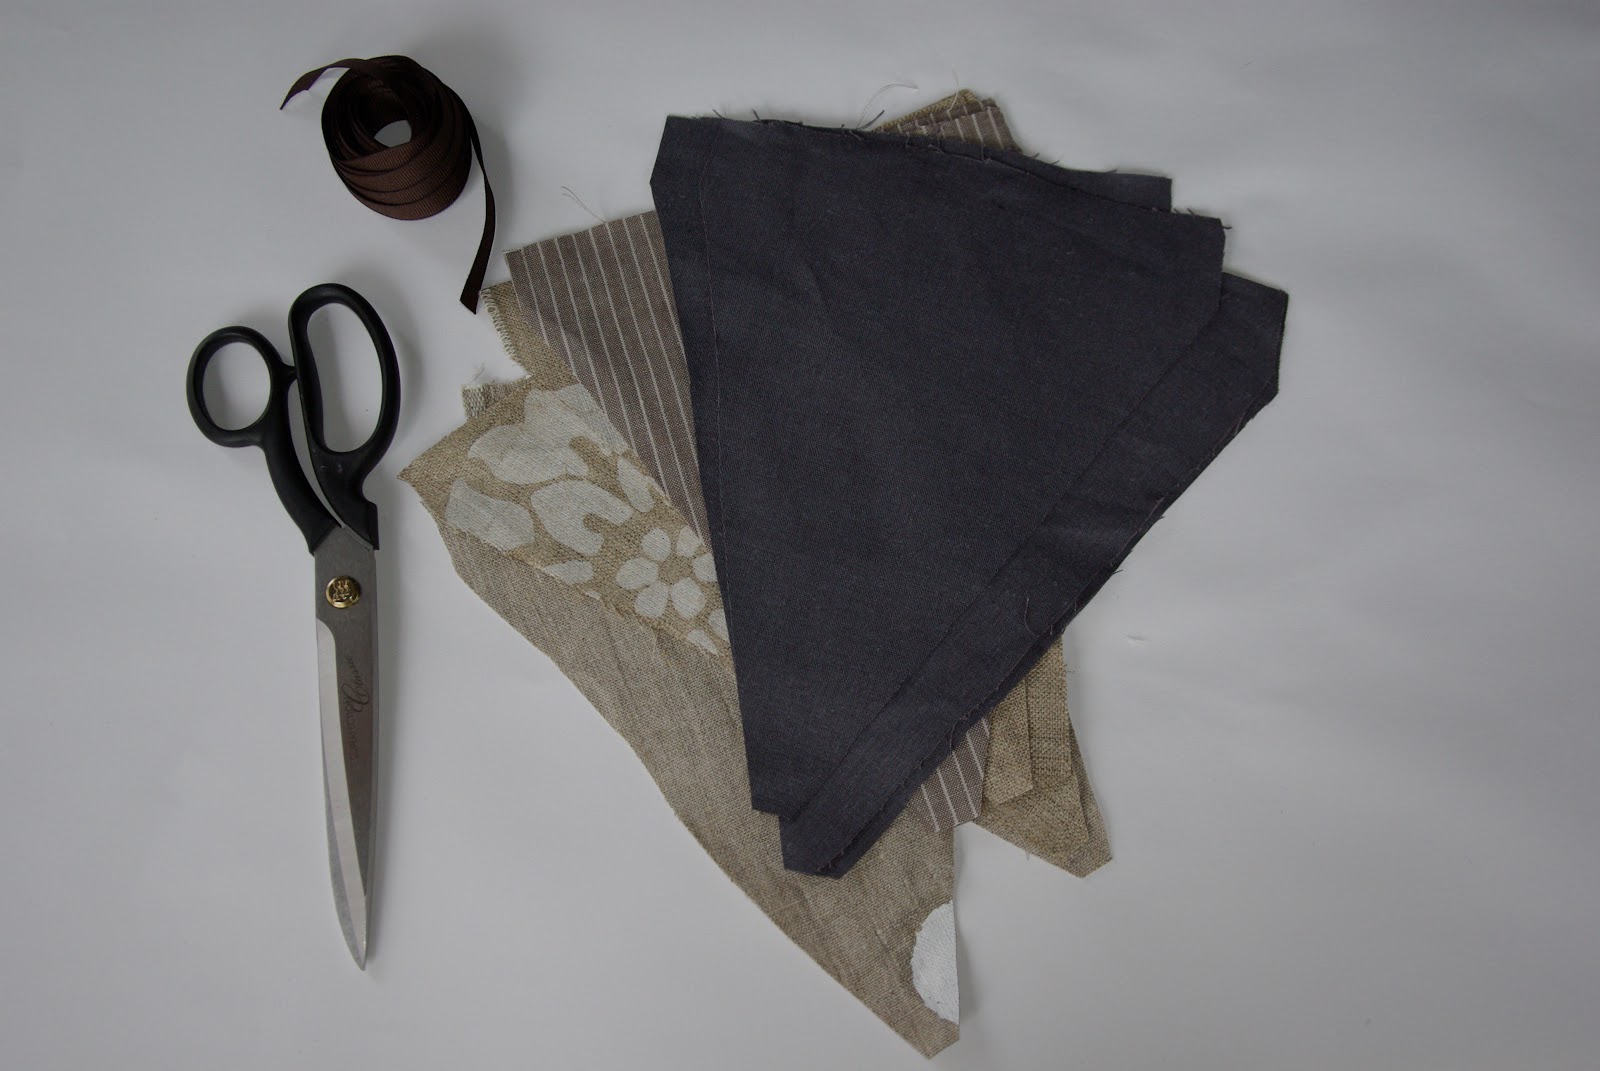
I have been asked a few times how to make banners- and it is super easy- I thought I would share how I make a very simple one sided banner. This can easily be modified to be double sided- it is a great way to use up scrap fabric! Skills needed for this project- adequate scissor know how, pinning and sewing a straight seam.

Draw out your pattern piece- Basically a triangle that is 9 inches on the long side and 7.5 inches across the top- I like to square the edges off on the sides as you will be folding and ironing a flap later.

Using the pattern cut out about 12 flags- double that amount for a double sided banner

Still on the back side of your Fall Bunting sew a straight seam- catching the ribbon in the stitching as you go- don't forget to back stitch on either end- clip hanging threads. Press everything smooth and hang to enjoy!

Directions for Double Sided Bunting
a) cut out equal amounts of flags- ex. 20 pieces of fabric will make 10 flags
b) place two triangles together. Stitch the long edges together with a 1/4 inch seam allowance.
c) Turn the flag right side out- press
d) Fold the flag's top edge in by 1/4 inch. Press. Fold again 1/2 inch and press- topstitch to make a 1/2 inch casing- the ribbon will run through this


p.s. Today is my Dad's birthday- so Happy Birthday to this guy!

No comments:
Post a Comment
Please feel free to leave a comment- I love hearing from you!