Showing posts with label printmaking. Show all posts

Thursday, October 17, 2013

Crafternoon: Mono Printing With Kids


   Materials Needed:

Block Printing Ink- we used Speedball
Brayer- roller
pallet to roll ink out onto
Barren or rolling pin or wine bottle
a small piece of plexi glass or a soft cutting mat
good quality paper- we like Stonehenge
leaves- semi dried out


Step 1- start by rolling out your ink- we chose red and gold- mixed together they look very fallish- use any colour you want though there are no rules when it comes to colour choice!


Step 2- roll the ink onto your plexi glass or cutting mat- use whatever you have on hand- as long as it can be washed off and is smooth. Roll the ink on with your brayer nice and evenly- make sure there is a generous amount but not too goopy. Arrange leaves on top of the inked up surface.


Step 3- place a piece of newsprint or scrap paper over the entire project and burnish (rub) down with the barren or rolling pin or wine bottle- you are transferring the details of the leaves into the ink.


Step 4- remove newsprint- which can be a beautiful print to play with on it's own- carefully remove leaves. In the image below you can see the ink left on the plate (cutting mat)- this is what you will be printing onto the good paper.


Step 5- once the plate is clear of leaves you are ready to pull your mono print- place your good paper down over the plate and burnish firmly-transferring all the details that were left behind in the ink by the leaves. Remove your good paper and there is your print!


     Mono printing means to pull one image- it is a one of a kind print- which makes this project quick and fun. If you have the space you can soak and blot the paper for a few seconds prior to printing- this only works on cotton based papers like Stonehenge- this allows the paper to absorb the ink even more- creating a cleaner print.

       With all of the amazing leaves falling at this time of year we could hardly not do a few leaf related art projects! These prints will look great framed on the wall- I am always swapping their art work out for fresh but I think these will have a more permanent place in our kitchen art collection!

Wednesday, July 24, 2013

Craft Camp: Print Making


       Last night I had the pleasure of teaching my screen and block printing textile class in my hometown of Peachland- the best part was a few of my oldest and dearest friends were in attendance! With the lake as our back drop we stayed up way too late making things, chatting and laughing as if no time had passed at all.


         I love seeing what participants in my class have in mind to print- everyone comes up with such varied images that are totally indicative of their personalities! The above little bird comes with a charming story- after being spotted as a window decal on a car in Oregon my friend Lisa snapped a picture- which she pulled out six months later and turned into a lovely little block- which she printed on a bunch of note cards. So cute! 


        My friend Amy has always been a Coca Cola fanatic- yes fanatic is the correct word since she is obsessed! So she came up with these clever "soda" bottles with the Coca Cola logo in the back ground- so graphic and totally custom to her taste. For sure these tea towels are one of a kind!


         The evening was just so much fun- the warm Okanagan breeze, the full moon over the lake and some of the funniest ladies I know! I love these gatherings- the coming together of friends- new and old- the learning of a new skill and the resulting camaraderie that is created where ever women gather and make things. These girls have long been a part of my Tribe- they know all my stories and we can finish each other's sentences and I was ever so pleased to be able to teach them a new skill!


        I will be running my class again in August- the date has yet to be determined but it will be guaranteed a good time! In addition to the actual classes I am hosting an open studio August 11 - $15.00 gets you three hours of studio time and my brain to pick! Bring your own supplies or purchase screens, inks and block printing supplies from me on the day of. Taking the screen and block printing class is a prerequisite of the open studio which I am hoping to hold on a regular basis- so if you miss August there is always September!

Wednesday, June 19, 2013

Craft Camp: Print Gocco


          I have a pretty special event that I am attending tonight- the Glam event for the 2013 Vancouver Mom Top Blogger- so exciting! Now while I didn't win the title of Top Blogger I am glad to have been a part of this entire experience- if nothing else I now have a whole bunch of new blogs to read! I was thinking it might be a good idea to take some business cards with me tonight- something different, handmade and totally Plain Jane style!


       So I busted out the old Print Gocco machine and started printing my own cards- totally weird and totally fun! The Print Gocco is a Japanese colour screen printing system- fully self contained- allowing the home screen printer to print up to one hundred prints before stopping to re-ink. While the Print Gocco has been discontinued a cult like following has evolved and supplies are available online- or if you are local to Vancouver at Blim.


       While my cards may not be the most professional looking- they look hand drawn- because they are and they most definitely have a bit of a Wabi Sabi feel- I think they are really interesting and fun. Of course I could not resist a bit of Plain Jane flair with some neon pink thread!


          I think I am now ready for tonight- my new dress from Maiwa is hanging on the back of the bedroom door, my evening bag has been dusted off and my business cards are at the ready! The only thing left to decide are the shoes... oh the shoes!

P.S- thanks again Lindsay for the most fun way to print!

Wednesday, May 8, 2013

Craft Camp: Printing Making


       This past Saturday afternoon found me gathering with a few lovely ladies around my kitchen table teaching the ins and outs of block and screen printing. Consider this- if you will- Craft Camp for grown ups! The vibe was pretty relaxed and casual- lattes, wine and Elderflower syrup (thanks Laura) were enjoyed as we worked together to create some beautiful art work.


      I first fell in love with screen printing while working at a local art supply store- now I screen print almost daily- always thinking of different patterns and colour combinations that others may find interesting and exciting. I talk a great deal about magic here- mainly because I believe magic truly is all around us if we stop and look- one of the most magical things I think is the feeling inside when you discover print making. The thrill of the realisation that you can print- pretty much on any object anything you want- the magic of creating something!


       We worked on two different types of printmaking that are easy to do in a home environment- as in anyone can do this- nothing like a really accessible form of art making! We started off drawing our screen prints by hand- while those dried we worked on our block printing blocks. I love seeing what all the different ladies were creating- each image was really indicative of their personality.


     Saturday was a test run of more classes soon to come- I have a vision of all these talented ladies I know teaching each other skills in a fun, relaxed and slightly tipsy environment! Today's gathering of friends is just the beginning of things to come- I love to teach and I love art- that seems a pretty natural fit!


      Thanks to the gals for spending part of their Saturday afternoon- I had a great time and I hope they did too! I will be running another Intro to Screen and Block printing in June- if you are local and interested I would love for you to join me! Dates to follow.

Tuesday, March 19, 2013

Evolution of A Tote Bag


       Some days when I get into the groove in the studio- and by studio I mean kitchen table- things just start to click and magic happens! Recently I have really gotten into making my own patterns- the play of colour against background- particularly natural linen- sigh I love it! There is something so different and satisfying when it comes to printing on different materials other than card stock- taking some of my favourite card prints and seeing them in a new light as they come to life on a real three dimensional object- like a tote bag!


       I tend to get lost in a bit of a feverish pitch as the patterns start to reveal themselves to me- positive and negative spaces emerging from a previously bare piece of fabric. I gotta say I love repetition- during my photography days I scouted pattern out- natural or man made the repetition was what I looked for.


      Now back to the fabric and screen printing- the other day in the studio it was pure magic happening- I printed two large pieces of linen with screen printing and I block printed a third- each piece of fabric was big enough to be sewn into something useful- like a tote bag! * Side note- if printing  pieces of fabric a great way to dry them is to hang them up on pants hangers in the shower- this way the fabric does not fold over on it's self and smudge your print! *


     Once my fabric was dry and heat set with a very hot iron I stepped back and just enjoyed the moment- this fabric is one of a kind and not to be spotted any where else- I imagine even if I try to reproduce it again things wont be the same. This Spring I am super inspired by bold colourways- very preppy considering some of my previous prints- grounded though with the honest natural linen back drop.


      Perhaps I am a tad biased but my favourite piece was the block printed fabric- I loved the rustic variations in the print from medallion to medallion. This fabric was destined to be paired with a set of lovely leather purse handles from Merchant and Mills of England! sewed up into a handy little tote this bag is perfect for heading out to a coffee shop with a magazine for a few quiet hours- yes I like to visualize and give life to the items I make! 


     This little tote is just the first in a series I have coming down the production line- currently it is listed for sale in my Etsy shop. I think I will have a tough time letting go of this one as I would love to keep it for myself but it is for sale! Hope you enjoyed the little sneak peek into my studio- AKA kitchen table- as I take an item from start to finish


   Thanks to the Mr. for snapping this shot of me yesterday in the glorious sunshine- now just imagine cute sandals instead of clunky rain boots!


Monday, November 26, 2012

Printmaking with the Littles


      Hello Friends! Here we are at the start of a bright, shiny week once again- I had such an over the top weekend filled with creativity, family, tutus, pancakes and fantastic friends that I am ready for this week! The main event for me was my stint as a visiting artist over at Opus Framing and Art Supplies- as promised I am going to share the three awesome projects I presented as well as my list of go- to art supplies that are in my arsenal.

        Since it tis the Season to get creative one of the projects I presented this weekend was very basic relief printing onto greeting cards- a subject near and dear to my own little heart. This is one of my favourite projects to do with the Littles if we need a birthday or Holiday card- it is shear magic as well as being very simple to do!

The Goods:

Scratch Foam Styrofoam sheets
regular pencil
brayer (the rolly thing with the handle)
rolling pin or empty wine bottle
Speedball water based printing ink
pallet (a piece of plexi will work)
smooth card stock


The Deal:

1)    Cut a sheet of Scratch Foam down to just slightly smaller than your card stock, using a regular pencil draw on your design.

*tip- if words are part of your design remember to draw/print them backwards- when they print they will print as you normally would read them*

2) Squeeze out a moderate amount on ink onto a smooth washable surface like a painting pallet or piece of plexi glass- roll out the ink evenly until it has the texture of an orange peel and the brayer is evenly coated- you do not want think goopy ink.


3) Taking your brayer, which is evenly coated in ink, carefully roll it over the surface of your drawing on the Scratch Foam- again trying to keep the distribution of ink even.


4) Once the drawing is evenly inked up place a card on top- try to get it centered but don't fuss too much about it- place a cover sheet of plain paper over top (this is just to keep things clean)

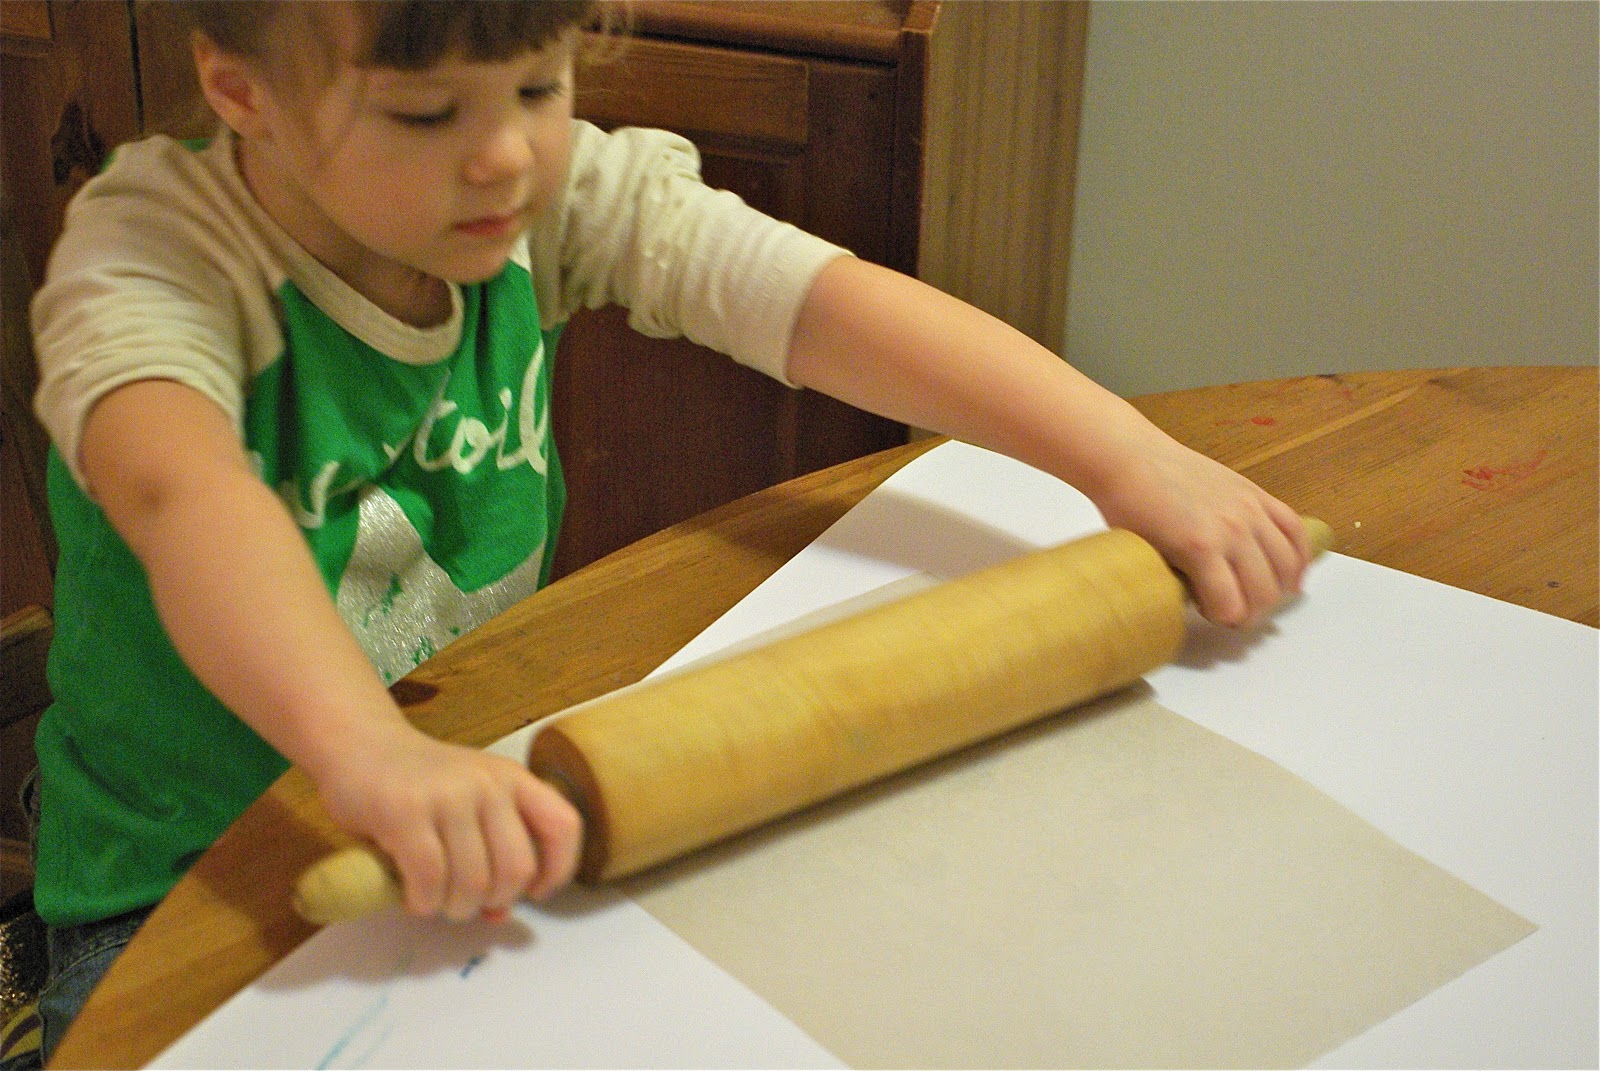
5) Press everything in place- the sticky ink should prevent your card from sliding around) and roll over top with the rolling pin or bottle exerting even pressure as you go over everything a few times.


P.s. please excuse the action shot- Miss Lo was really getting into her work!


6) Peal off the original sheet of foam and set your card aside to dry- ink it up again for multiple cards- you should be able to get at least six from one drawing!


7) Finish off your Masterpiece with some embellishment or stamped greeting- instant Holiday keepsake!

       
          I had a great time sharing my passion with a handful of equally interested folks- thank you to Andrea, Brendan and the rest of the lovely staff who helped me set up and feel at home. I so enjoyed teaching a group of people again- I realised midway through just how much I have missed this part of my life. Thank you as well to Lovely Cousin Laura who took a couple of snaps while I was doing my thing!


Because I know people will ask: all these supplies can be purchased through your local art supply store. Here in British Columbia Opus Framing and Art Supplies has five brick and mortar stores- click link for locations- I know from personal experience that staff at all locations should be able to point you in the direction of all items used here. Opus also has a mail order service all across Canada. If you are in the United States try Pearl Paints or Blick Art Supplies- most products or similar will be carried.