Showing posts with label craft. Show all posts

Thursday, December 4, 2014

Winter Crafternoons


           With so much plastic showing up at this time of the year our family has made a conscience effort to take a more natural and holistic approach to holiday decorating. As in keeping with our family mandate to live a more simple life we are very selective when it comes to decking out our apartment. Each year I try to find a suitable craft to make with my wee makers that will stand the test of time and hopefully one day show up on their own family trees.


           One of our favourite projects is painting peg dolls- we love to imbibe these blank folk with little personalities that match our own- our alter egos already exist in the form of gnomes gathering around the tree. This year we were so pleased to find a few new characters to add to the family at Collage Collage- a snow man and an angel. Such fun yet simple forms- the perfect canvas for our imaginations!


            We used Holbein Gouache to paint our winter folk- gouache is an opaque- matte paint- in this case an acrylic- very popular with designers. I love the way it lays down on the wood ornaments- giving each wee folk the perfect amount of colour with out overwhelming- the Holbein colours are fantastic.
 
             This is the extent to our new decorations for the year- two wee wooden ornaments that will not only hang on our tree but more than likely be played with well into the new year. They feel good in the hand- to be held and imagined with- and they come from a great place- the wonderful world of make believe. These wee folk are made to last- not just in materials but also in style- to be brought out year after year- the story of our afternoon crafting remembered and retold-  the energy- a family treasure.

Friday, August 1, 2014

Crafternoon: Eco Printed Bunting


        If there is one thing I have learned about my kids it's that they like picking flowers and smashing things with rocks- simple truth here folks- I'm raising highly evolved beings. As brutal as the delivery sounds the results yielded are quite pretty and ephemeral. These simple Eco-printed flags look great outside as a garden accent or brought indoors as a reminder of sunnier days!


        To start this project you will need to gather a variety of deeply hued flowers- we found geraniums worked very well as did lavender and petunias. Cut squares of fabric for your flags- I used pinking shears to give a decorative zig zag cut on the edge of the fabric- make your squares about 8"x 10"- they can always be trimmed down later. Find a rock that feels good in your hand for the smashing.

     Lay your fabric out on a hard surface- we worked on a board that had a bit of give to it- place your gathered flowers out- I tried to do a bit of a design- the Littles were completely random in their placement. One option is to just take the rock and start gently mashing the flowers into the fabric- another way is to place a second piece of fabric over the flowers and hammer on that. Gently pound or mash the flowers until they start to bleed into the fabric- the  flower's pigment will stain the fabric. Carefully peel away the ponded flower remains. Set your fabric aside to dry completely- I put ours in the sun to heat set but you can also iron to heat set.

     You can use the fabric for a multitude of projects- unique throw cushions, tote bags or as we did a festive bunting for the garden. To make the bunting simply take your printed fabric and sew onto a piece of webbing- a simple straight stitch on a machine will do but so will hand stitching, stapling or hot glue!


       What I loved about this little project is that the Littles were able to engage in something similar to the eco bundling I did a few weeks ago- they were ever so curious and so this enabled them to be a part of that process. Working along side my Littles is so fun- nothing like an afternoon spent out in the garden at Mommo and Poppa's!


     Friends it is Friday again and the long weekend- we are halfway through summer holiday already! Hard to believe but true- we have some heavy duty plans that include hitting the beach and hitting the beach! Happy Pride Vancouver and Happy Friday Friends!

Tuesday, December 3, 2013

DIY Gifts For Hip Dudes


         I am a bit fan of working with leather- I love it- there is something that whispers "this is special" about leather. Maybe it is the historical pedigree of leather- it is an ancient and honest material that is tried and true. Perhaps it is the social connotations that leather equals quality goods- I learned at an early age to sniff purses to tell if they were made of leather or not- quality purses are made of leather! Impress all your friends this Holiday season with these arrow inspired key chains- cause you know arrows are super hip right now.

        The arrow key chain could not be any easier to make- all you really need is a scrap of leather, a blank key ring, rivets and a hammer- very straight forward! To start with sketch out your design on the back of the leather- taking into account the size of the key ring and narrowing the top of the leather to fit through the ring.  Cut out arrow shape. Loop the end of the leather through the key ring- punch a hole through both pieces of leather and insert rivet- add the back of the rivet and hammer into place.

       I can't think of any hipster dude that would not love getting this leather cheveron key chain in their stocking this Holiday season! I have this super bad habit of always wanting to keep the gifts that I make- this project was great because I easily made about six in a half hour- meaning I get to keep one for myself! So impress your friends- let them think you are very clever- whip up one or a dozen of these hip little key chains!

Thursday, November 28, 2013

Crafternoon: Gnomes


               There really is nothing like a trip to our favourite little art store- Collage Collage- to get the creative juices flowing! Ten dollars will get you a bag of small craft supplies that afford hours of engagement and fun- which is especially important when it is too dark to go to the park after school! Yesterday was such a day- Miss Lo and I picked out a few projects to work on- first up all was these cute little peg dolls.

               These wee little wooden folks were given a bit of a make over and turned into winter gnomes- to be hung by their hats by golden ribbons. Super simple to make with just a bit of paint and a swath of wool felt. To start select a colour to paint the body- we used Martha Stewart's satin colours- the Littles gave each figure two coats of paint- nice and smoothly.

               Then it was time to make these wee little wooden folks some clothes- so with Momma wielding the sewing scissors the Littles art directed and instructed me in their colour choices- simple lengths of wool felt wrapped around the base of each gnome became their robes and a circle of felt was turned and glued into a hat through which the ribbon for hanging was threaded. Everything was glued in place with white glue and left to dry- an adult or older child could also use a hot glue gun*.

               It's been decided that we need to make more of these enchanting little gnomes- so simple and so lovely- they will be the perfect addition to our tree if the Little ever decide to part with them! What I especially love about this entire project is that aside- from the cost of under four dollars- was working with the materials- I love making miniatures and working with wood and wool felt is so tactile and just honest- perfect for our humble tree!


* I did use the hot glue gun to tack on the hats as they will be hanging from a tree- if you skip the step with the ribbon and just make gnomes for playing this is hardly needed and white glue will do just fine!

Friday, November 15, 2013

DIY Gifts For Girls: Pinwheel Barrettes


        There is no body else I love crafting for than girls- little girls or my grown up girl friends- girls just get it- they love the sentiment behind a good handmade gift. So it's only natural that the next gift on my DIY gift extravaganza be for the little girls in my life! These cute little felt hair clips are a great way to use up scrap fabric in your stash and come together quick as a wink.

The Goods:

felt
scrap fabric
fusible interfacing
ribbon
hair clips
hot glue
needle and thread

The Dealio:

Step 1- with the hot glue cover the hair clip with a small piece of ribbon- just on the top side


Step 2- cut felt,fabric and fusible interfacing to the same size of 3" x 3" square- fuse the three items together with a hot iron to form one still piece of fabric- patterned on one side and felt on the other.


Step 3- starting at the corners cut towards the centre of the square but not quite the entire way across


 Step 4- taking one corner of the square- fold in towards centre- fold in all four corners and secure in the middle with a stitch- sew on button to cover the sewn centre- tie off thread on the back of the pinwheel


Step - again using the hot glue gun secure the fabric pinwheel to the front ribbon covered side of the barrette.


         Friends it is Friday again! This weekend I am so looking forward to my final craft market of the year- Maternal Creations - I think this will be the perfect place to start a little shopping of my own for Christmas! Happy Friday Friends!

Thursday, November 7, 2013

DIY Gifts for Gardeners: Garden Markers


     The Holidays are coming and if like me you have big plans to make your gifts yourself then now is the time to get crafting. The wonderful thing about home made gifts is they can be as personal as you want- for example with this easy little gift I had my mom in mind- she is a gardener and so what a perfect stocking stuffer these garden makers would be! Very easy for the novice crafter- perfect for making with the Littles- these are sure to make any gardener smile in the middle of the winter!

Garden Markers


The Goods:

acrylic paint- I chose Martha Stewart Colours in a Satin finish
paint brush
large size popsicle sticks
letter stamps and a stamp pad
                or
coloured Sharpie of your choice
an outdoor sealant or varnish- I used
Jo Sonja Polyurethane varnish


The Deal:

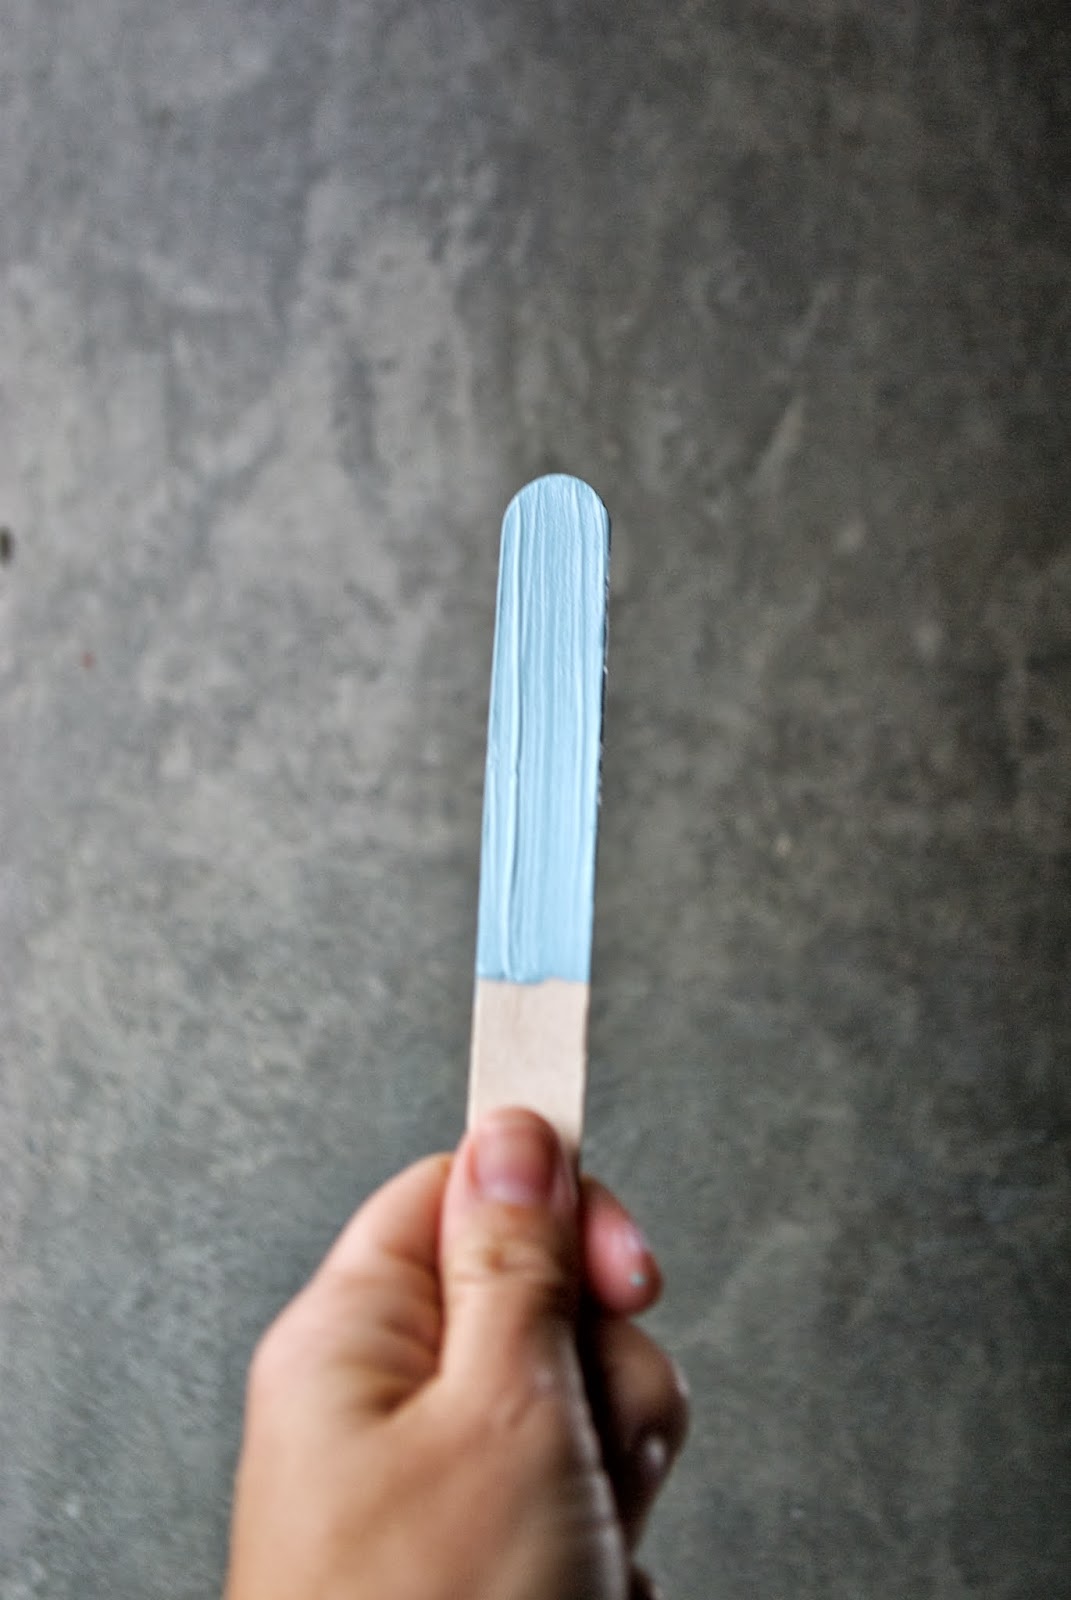
- to start paint your popsicle sticks with two or three coats of the Satin paints- don't be shy- really make sure the paint is thick

- while the paint is still slightly tacky* start stamping in your words- I chose to put different herbs on my garden markers- because the paint is still tacky the stamps will emboss into the paint giving the project a bit of dimension


- allow the stamped letters to dry for an hour or so before coating them with a weather proof sealant- you can either dip the entire garden marker into the sealant and hang to dry or you can paint it on one side at a time- allow the sealant to cure- this could take up to 24 hours.


        Pair your garden markers with some GMO free seeds like these from the Strathcona 1890 Urban Seed Collection and some wee starter pots for the perfect gift for the frustrated winter gardener! Every garden needs a pop of colour- even in areas with flowers like the herb garden these little multi coloured markers will pop out of the foliage!

* if you are hand printing your words on with a Sharpie please make sure the paint is thoughrally dry before proceeding with the rest of the steps.

Thursday, October 31, 2013

Craft Camp: Halloween Fun


         Happy Halloween everyone! Today is the day where all our little Ghouls and Boys will be getting dressed up to do the Trick or Treating rounds- our Littles are all ready awake they are so excited! I like to balance out a high sugar- high energy day like today with a little bit of quiet time- some holiday art making to go along with a healthy after school snack- before more sugar and craziness ensues!


        This is a super simple Halloween project- striped pumpkins- a little fine motor skills work out with all the paper cutting is the perfect thing a busy five year old needs to get him to sit still and chill out for a few minutes. If your Little is still a true little and is not yet at the scissor stage then feel free to cut out the stripy bits. For this project use some fun, fancy paper- Micheal's (craft store) has three pieces of scrapbooking paper for $1.00 right now- so I selected some appropriate Halloween colours- but you can also use whatever you have on hand.


  Step 1- cut out decorative paper into long stripes- vary the widths and angles- this doesn't need to be accurate- especially if the kids are doing the cutting.

Step 2- using a basic glue stick glue stripes down to a sturdy piece of card stock- this piece needs to be a more robust piece of paper- I would suggest a piece of bristol board or heavy card stock.


Step 3- once the entire back piece of paper is covered in decorative paper stripes allow the glue to dry- go back and touch up any spots where the glue might have been missed.


Step 4- once the glue is dry- flip the entire project over and sketch out a pumpkin- use a pumpkin shaped cookie cutter as a template if you need to for a bunch of mini pumpkins or sketch out one large pumpkin that uses up the entire paper. We chose to make a batch of mini pumpkins to use on Halloween cards- we fit nine mini pumpkins on a 12 x 12 sheet of paper. 


       These cute mini striped pumpkins can be affixed to a blank card or used as decorations on a door- we are going to hand out glow sticks and I'm going to tape them to the back of our mini pumpkins- really there are countless ways this cute craft can be used! I love the graphic nature of the stripes- they almost feel a bit quilted.

      Our pumpkins are carved, costumes are complete and everyone is geared up to get their Trick Or Treat on- I hope you all have a super fun and super safe day! Happy Halloween!


PS- if you need me I will be the one in a sugar coma after eating all the kid's candy!

Thursday, October 24, 2013

Studio Update On A Thursday


         These past few weeks have been a flurry of activity around the old studio- A.K.A. kitchen table- yes I have been forcing my family to have many picnics in the living room- scrambled eggs and toast have become a regular occurrence. I am in the final throws of prepping for the Urban Market at Highstreet that is happening this Friday and Saturday! Put on by those clever ladies from Spruce Collective this market is sure to be full of treasure- of course I had to really knock it out of the park with a few new Plain Jane goodies!


         I had such an amazing response to my hand embroidered pillows from the Plain Jane Heritage Collection I have decided to run with it- not only am I loving the new direction my work is taking aesthetically but the actual process has totally inspired me. To make a long story short- I am falling back in love with embroidery- a skill my Mom taught me many years ago that I thought was akin to torture. I'm not sure how many other twelve year olds spent the summer of 1989 sweating over a piece of cotton and a wooden hoop.


      Drawing with thread has become kind of addictive- bringing together my two loves- sewing and drawing- I get to work with lovely products like linen from Belgium and silk threads from France. There is something romantic and old fashioned about this method of working- I feel like I am making something that will last and be a special part of someones life. Of course the images are all drawn from my own history- how could I not create an ode to this amazing Province we live in!


        These days my work really seems to be clicking for me- I am excited to keep working and find it difficult to sit down and "relax"- if an idea is brewing my hands are itching. Working from home is not with out it's challenges- peers do not seem to realise what I do is not a hobby- this is my job- this is what I am doing to make money to buy milk and shoes for my kids- this is how I contribute to the family income. I think there seems to be a bit of a misunderstanding that artists who work from home are not just sitting around- while I do have the luxury of a flexible schedule that I set myself- I am at work by 6:30 am and often do not finish my work day until after 10:00pm. Still I am loving the synchronicity that seems to be happening these days- good things are happening and for that I am extremely grateful!


         The Urban Market at Highstreet is just one of those good things that are happening- I have long admired Spruce Collective and am so excited to be a part of something so fantastic! I love the group of vendors Spruce has lined up- everything from fun playtime accessories for children to beautiful scarves and loads of vintage items. Of course Plain Jane will have lots of cards- possibly Holiday 2013 will even sneak it's way in there- a selection of Heritage Collection pillows, notebooks, zipper totes and these sturdy bucket totes with handles- perfect for storage or transporting!


         I am loving the feeling of freedom and independence that is rising up in the Maker community- folks are no longer content with poor quality goods mass produced over seas- I think the public is starting to raise their consciousness and understand the importance of buying locally. When you buy from an artisan or crafter you are supporting a family- you are buying time for an artist to keep working at their passion. A world with out passion would surely be a very dull place. With the Holidays quickly approaching think about where you are doing your shopping- does it involve a big box store or Etsy? Are you supporting some big Fat Cat corporation or a Stay At Home Parent?

      One final thought- artisans sales, craft shows and art shows are not bargain basements- Makers have worked hard and poured not only their time but a great deal of heart into what they have proudly displayed for you. Please don't expect discounted prices- this is art- this is craftsmanship-in many cases these are very well educated people- please consider this!


       If you are out in the valley this weekend I hope you take a moment and swing by Highstreet for the Urban Market- sure to not disappoint! Friday evening is a sneak peek and tickets can be purchased through Spruce Collective- Saturday is open to all 9am-4pm.

Wednesday, October 23, 2013

Crafternoon: A Holiday Craft For Non- Crafters


         Around these parts we love a holiday- one of our favourites is Halloween- the perfect combination of celebrating the spooky and fun. It then almost goes with out saying that for every holiday we have a craft- a little coloured paper and a glue stick goes a very long way. I personally like crafts that are simple and easy and that my Littles can participate in as well- so paper crafting is the perfect medium. Yesterday we sat down with a stack of Halloween appropriate papers and got crafting.


         While the Littles were working on their awesome Jack-O- Lanterns for the front door I decided to make a quick and easy Halloween banner to hang along side. This little banner is my craft for the non- crafter- it is just that easy. To start with cut two pieces of 8.5"x 11" pieces of paper in half- we will be using three of these pieces- cut a triangle out of one of the short ends- this will be the bottom of the banner.


          If you have decorative scissors- even pinking shears will do- cut a smaller piece of coloured paper to fit inside the banner piece- about 4"x5" and glue in place- I chose this grey shade to contrast with the black- effectively creating a double matt.


        Trace or draw out the letters-B-O-O- this will be your scary message on the banner- I used stencils but if you are great at lettering try free handing it. Cut out and glue the letters in the centre of each contrasting square on the banner piece.


        Allow the glue to set up and possibly weight down the banner pieces with a book for an hour or so to prevent curling- punch small holes in the top corners of each banner letter and slip onto a piece of string- I used Butcher's Twine but ribbon or jute would also look really cute. Hang to admire!


        I find there is so much available to consumers to purchase around popular Holidays that often it is just too overwhelming- and completely unnecessary. Simple decorations made with humble materials can provide just as big of visual impact as their plastic store bought counter parts. To me Halloween is such a simple childhood event and this little banner is sure to delight!

Monday, September 16, 2013

Fall Into Craft


       I think we can surely say that Summer in Vancouver has been put to bed- we woke on Saturday morning to low lying fog sneaking in between the buildings of Gastown- fog horns blaring as we loaded up the van and headed out into the country. Plain Jane's destination- the Agriplex at the Cloverdale Rodeo grounds- my first market of the season- Fall Into Craft.


          While the fog did burn off through out the day I really could not shake the feeling that we had turned the corner weather wise- I was more than content to spend my time in a barn with a wonderful group of like minded folks. This being my first big market in more than a few years I was super nervous- I really shouldn't have been as I met so many wonderful folks! I was blown away by the number of shoppers who knew Plain Jane Designs from my past markets- and came over to say hello!


           The traffic was super brisk and busy for most of both days- I had so many wonderful moments with folks stopping by- I felt super connected to so many people who chimed up with their own creative stories- that was the best part of my weekend- making those connections. Plain Jane Designs is totally a labour of love for me- I work away never knowing if people will like or even "get" what I am doing- moments like this past weekend confirm that I am on the right path.


           There were so many amazing vendor's at this sale- most definitely a few really stuck out for me- be it with their product or display- or even their energy. I love seeing what other maker's are making- what their passion is and how they chose to communicate that with the world. I thought I would share a few of my new favourite local vendor's from over the weekend- folks I hope to see at more markets through out the fall!


       First up is the super adorable Holly Choi with her felted creations at Rain City Felts- everything from Finn & Jake felted characters to these really cute toddler bracelets- so cute! All handmade "with love" in North Vancouver- please check out Rain City Felt's website.


        The lovely ladies at Green Ladybug Designs had a table I kept going back to- their line of six ply gauze baby blankets, wash clothes and other accessories was just too much. Beautiful imported gauze blankets in gorgeous, soothing shades and patterns. Gauze blankets are super popular right now- a great gift for new parents- most that I have seen are quite a bit lighter- these are six ply making them more substantial and ever so soft! My personal favourite print is the penguin- so adorable and I can personally attest that the fabric is wonderful on the skin- Miss Lo quickly appropriated my penguin wash cloth and loves it! Click on over to the Green Ladybug website to see what else they have to offer!


        By far one of the highlights from my weekend was meeting the lovey Margot from Crystal Connections- maker of amazing crystal pendants, cat collars, earrings and bracelets as well as being an all around fantastic person! Margot is genius at picking out stones specific for each person- she knows just what you need- check out her Facebook Page and show her some love!


        Another awesome connection made was with the lovely ladies from Flying Fox Art and Design- Penelope and Rebecca (along with their adorable assistant) create beauty and tradition with their jewelry designs. With a heavy reference to tradition and vintage design it was obvious I would love everything these ladies were showing- delicate brown diamonds, moon stones as well as modern bubble necklaces. Please head over to their facebook page and give them a like- you won't be disappointed!


        As an aside Rebecca also imports tea and gave me quite the education on her tea and what makes it so special. Imported from Sri Lanka this tea is organic, high grown and most important of all provides support via it's sales to the Beacon Hill Academy- which is a school Rebecca helped start-please check out their web site!


          Sitting here on this Monday morning I am exhausted from standing and hustling all weekend- most artists or makers rarely talk about this but selling yourself and your work is hard- hustling is not an understatement. We have bills to pay, milk to buy, kids to feed- when people come out and support locally hand made artisans they are supporting families, pets and individuals. The Holiday market season is just around the corner- and while I know it make be "easy" and "affordable" to shop at a big box store I urge you to consider stopping by a local market- seeking out something special and hand made.

         A big Thank You to everyone who stopped by my table- especially those who bought things- thank you because your purchases have bought me some more time- another sale- another chance to keep on making! Thank You to all my friends who came out from the city to support me and my fellow makers! If you aren't already a Plain Jane "fan" on facebook-please click on over to my facebook page and show me some love by clicking "like"- yup I'm still hustling!